Wednesday, September 20, 2017

Ellipses, Cylinders, and Circles in Perspective


Imagine a circle being able to fit into a box. Conceivably, all objects can fit into some sort of square shape.
 
When a circle is put into perspective, it becomes an ellipse. 

 
To start, draw two parallel lines. The further apart the lines, the more likely your ellipse will be more elongated and warped.  You essentially want to make a trapezoid. The more unlike a perfect square your shape is, the more warped the ellipse will be.


Now comes the perspective portion. You have to find the middle of your trapezoid like shape. A vertical and horizontal cross at this point will not give you the middle and will throw off your perspective. A perfect 'T' cross will give you the middle of a perfect square and circle, which is not our goal or starting shape. The first and most important step is to draw two diagonal lines--an X--in your shape, connecting the corners to each other. That will give you the middle of any variation of this shape.

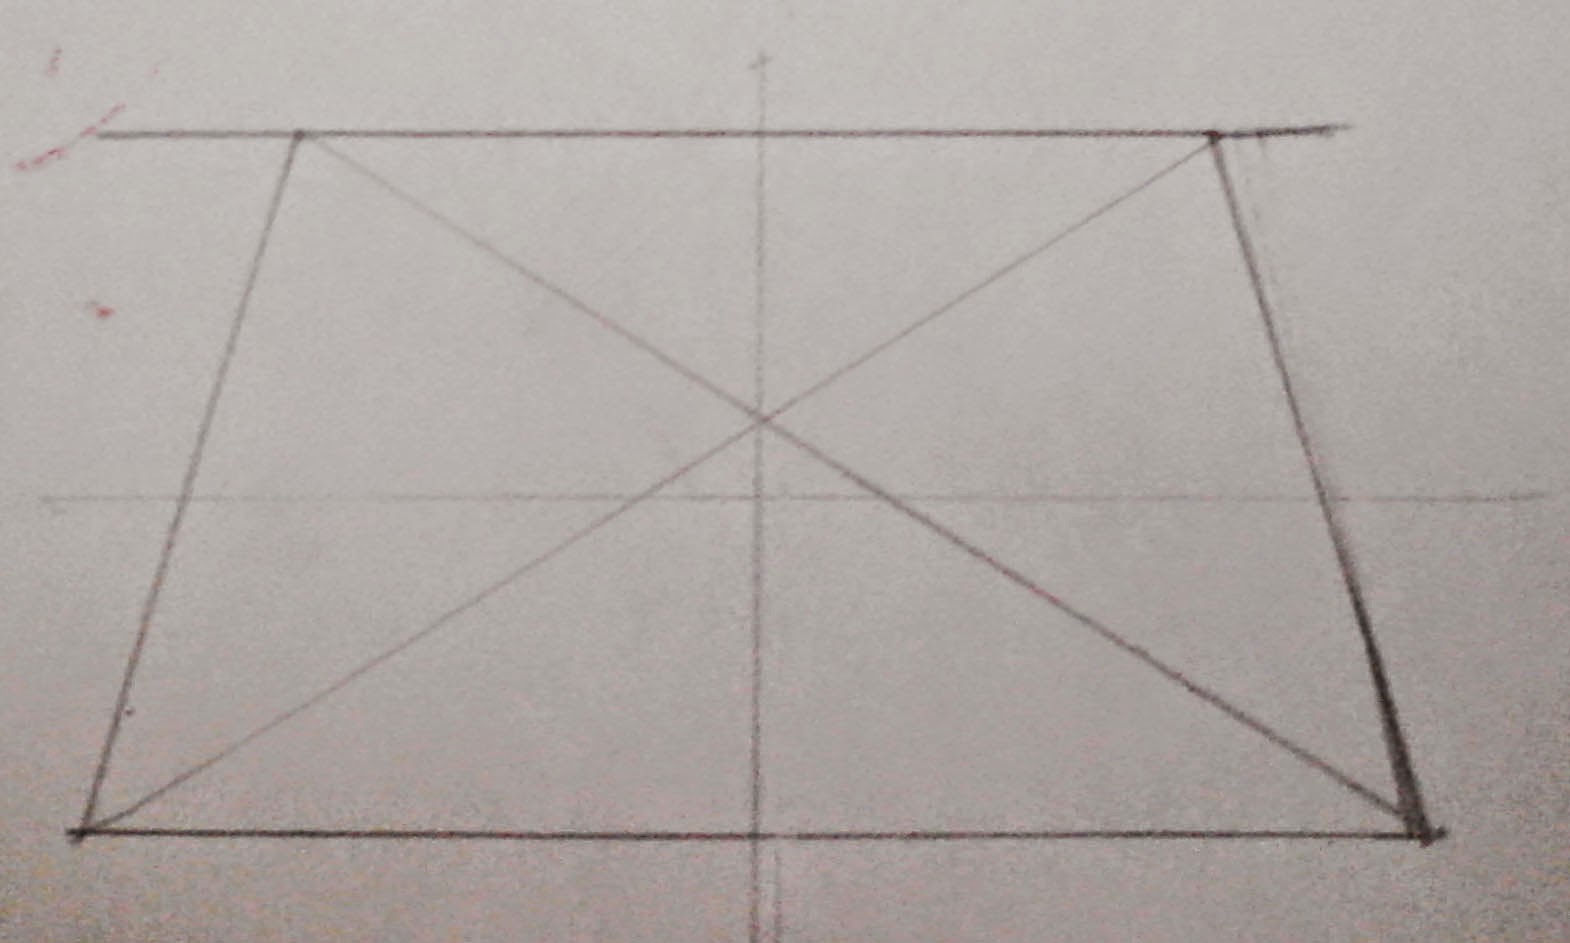

Notice the difference between the two images above? The X shape defines the true middle of the square in perspective, while the T shape does not.
 
Once you find the middle of your shape using an X, you can then make a T. These two shapes will help you finalize your ellipse.


Imagining your shape is in 4 "squares" you can now begin to connect lines to form your circle.  Simply complete the same line in each of the 4 sections.
 

-------------
If your trapezoid shape is too long and closer resembles a warped rectangle than a warped square, your ellipse will closer resemble a perfect circle. An example would be the street chalk drawings that play on our perspective from certain points of view.
-------------


This next video is a digital drawing, but the rules still apply:


Wednesday, October 8, 2014

Point Perspectives (1,2,3)


1, 2, and 3 point perspectives are very useful art techniques to give your work the illusion of dimension and space. The "point" being referenced is the "vanishing point". 1 point perspective has only one vanishing point, while 2 point has two, 3 point has three, etc.

The simplest form of perspective is 1 point perspective. Only one vanishing point is applied here--hence the name "One Point Perspective":


 The next level is 2 point perspective. Now there are two vanishing points.


3 point perspective adds a third vanishing point above or below the horizon line. It can be seen as either a birds eye view or a worms eye view. 


Notice how dramatic the difference is within the same drawing when it is inverted (changing the position of the 3rd vanishing point from above the horizon line to below).


Wednesday, September 24, 2014

The Golden Mean-Lecture 5


The Rule of Thirds is an artistic guideline to help keep your composition engaging and interesting. Below are some examples of famous artwork with the rule of thirds overlaid on top of them as well as a few videos to help further explain the concept.


In The Adoration of the Magi you can see that the majority of the figures heads as well as the horizon line falls on one of the guidelines. This helps to guide the viewers to the focal point of the madonna and child. 
The Adoration of the Magi by Raphael


In The Last Supper below you can see that the table top lines up with the bottom guideline, and overall is a very balanced piece with the center figure of Christ being the focal point. 
The Last Supper by Leonardo da Vinci


A pieces composition doesn't have to rely on lining up everything with the guidelines. In The Mona Lisa below, notice that the background and negative space of the figure has an almost symmetrical effect that works on balancing out the slight asymmetry of the figure. 
The Mona Lisa by Leonardo da Vinci