Wednesday, September 20, 2017

Ellipses, Cylinders, and Circles in Perspective


Imagine a circle being able to fit into a box. Conceivably, all objects can fit into some sort of square shape.
 
When a circle is put into perspective, it becomes an ellipse. 

 
To start, draw two parallel lines. The further apart the lines, the more likely your ellipse will be more elongated and warped.  You essentially want to make a trapezoid. The more unlike a perfect square your shape is, the more warped the ellipse will be.


Now comes the perspective portion. You have to find the middle of your trapezoid like shape. A vertical and horizontal cross at this point will not give you the middle and will throw off your perspective. A perfect 'T' cross will give you the middle of a perfect square and circle, which is not our goal or starting shape. The first and most important step is to draw two diagonal lines--an X--in your shape, connecting the corners to each other. That will give you the middle of any variation of this shape.

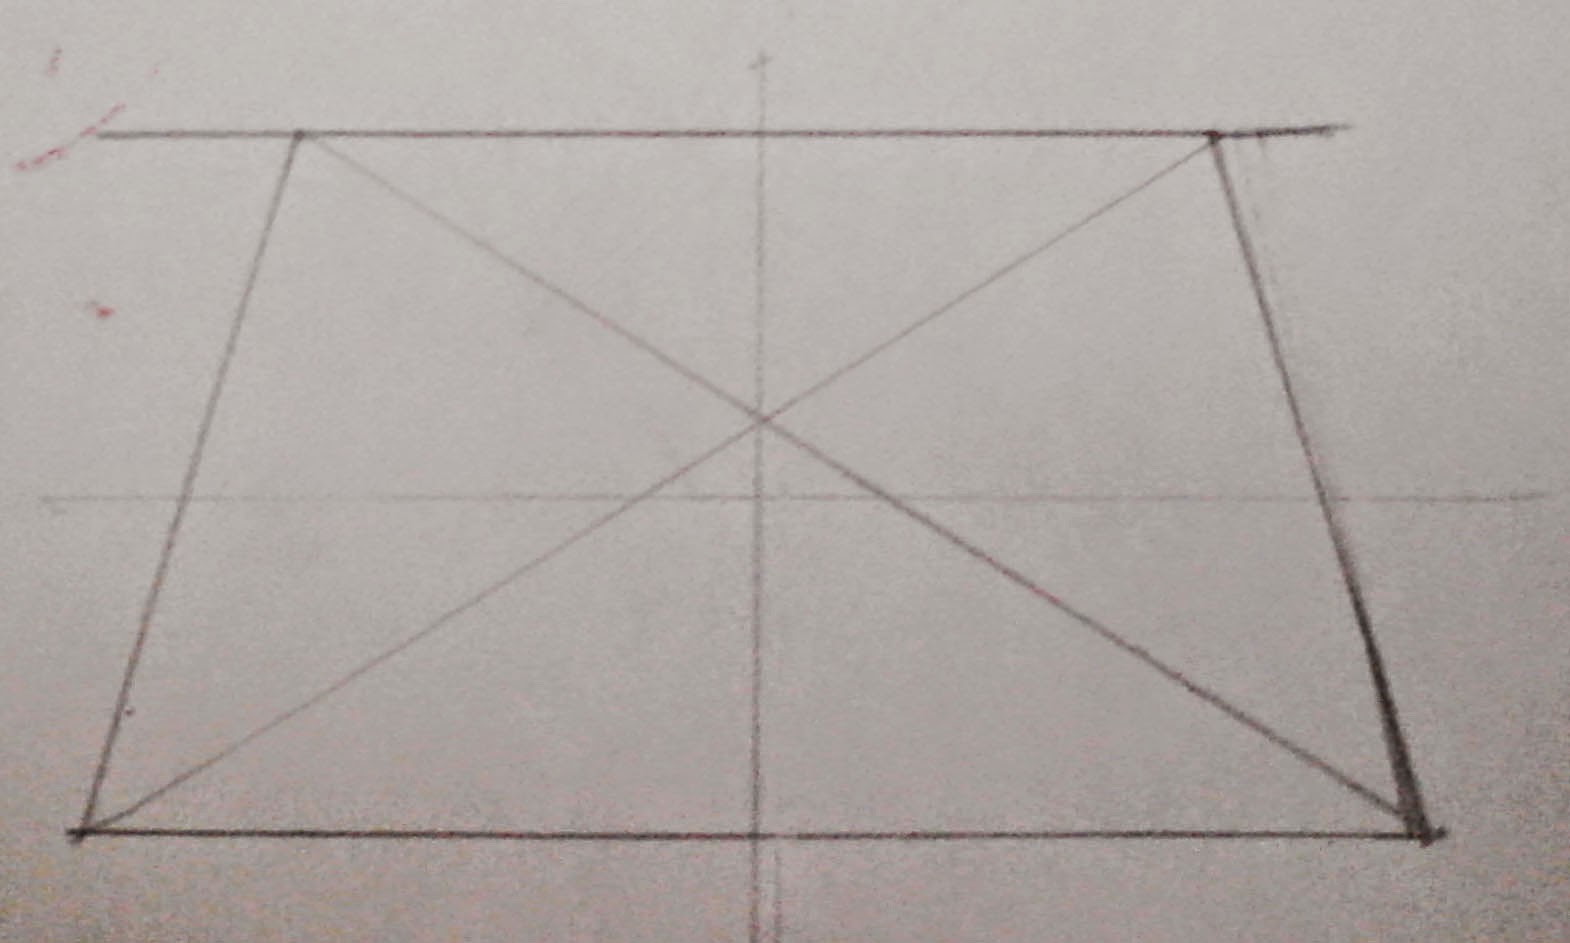

Notice the difference between the two images above? The X shape defines the true middle of the square in perspective, while the T shape does not.
 
Once you find the middle of your shape using an X, you can then make a T. These two shapes will help you finalize your ellipse.


Imagining your shape is in 4 "squares" you can now begin to connect lines to form your circle.  Simply complete the same line in each of the 4 sections.
 

-------------
If your trapezoid shape is too long and closer resembles a warped rectangle than a warped square, your ellipse will closer resemble a perfect circle. An example would be the street chalk drawings that play on our perspective from certain points of view.
-------------


This next video is a digital drawing, but the rules still apply:


Gesture Drawing

Think of gesture drawings not only as a warm up to get you going, but to also help you plan out a drawing or composition. This is especially useful for figure drawings and for drawings where you need to capture the essence of your subject. 


Though gestures capture the essence of your subject, they don't necessarily have to be able to be viewed as a coherent piece--it's ok for them to be indiscernible scribbles, just as long as it captures the motion of your drawing.


You can also combine gesture drawing with outline drawing to get more detail, while still maintaining a loose drawing style. Below are preliminary sketches by Honore Daumier for his painting The Carnival Parade. See how using gesture drawings can help capture the movement and expression of your subject?

Study for the Parade by Honore Daumier
Study for Parade 2 by Honore Daumier
The Carnival Parade by Honore Daumier

Below is another example from Daumier showing a more tightly controlled, but still loose gesture drawing.
Study of a Terrified Woman by Honore Daumier

Wednesday, September 24, 2014

The Golden Mean-Lecture 5


The Rule of Thirds is an artistic guideline to help keep your composition engaging and interesting. Below are some examples of famous artwork with the rule of thirds overlaid on top of them as well as a few videos to help further explain the concept.


In The Adoration of the Magi you can see that the majority of the figures heads as well as the horizon line falls on one of the guidelines. This helps to guide the viewers to the focal point of the madonna and child. 
The Adoration of the Magi by Raphael


In The Last Supper below you can see that the table top lines up with the bottom guideline, and overall is a very balanced piece with the center figure of Christ being the focal point. 
The Last Supper by Leonardo da Vinci


A pieces composition doesn't have to rely on lining up everything with the guidelines. In The Mona Lisa below, notice that the background and negative space of the figure has an almost symmetrical effect that works on balancing out the slight asymmetry of the figure. 
The Mona Lisa by Leonardo da Vinci


Hatching and Cross Hatching

Crosshatching and Hatching are both useful techniques to create a wide range of values.

Hatching marks are parallel to one another. You can create the illusion of value with hatching by placing the lines closer together or making them vary in thickness. Crosshatching marks are hatching marks that intersect and can be used to give objects form and depth.


Changing mediums can give a completely different feel when using crosshatch and hatch techniques.


Outline Drawing

Think of a outline drawing as the scaffolding of a piece. The things to hold it together to help you reach your goals. An outline drawing at it's most basic does away with the complexity of a value scale, while maintaining the complexity of hand-eye coordination.


It can sometimes help to imagine outline drawings as coloring book pages. Let's start simple:


There is no indication of value here; it is as flat as the paper it's drawn on. That's essentially what a outline drawing is. It should look like a two dimensional object. Let's get a bit more complex:


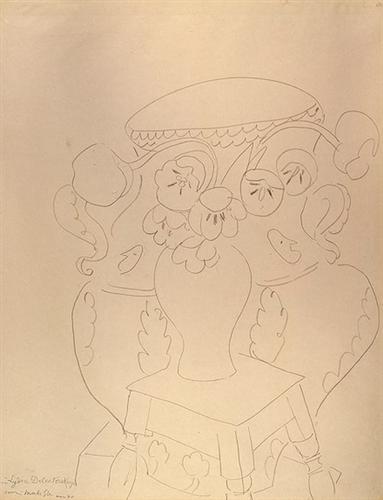
Still a relatively simple piece, but with a few changes. The subjects are more detailed and have a wider range of line widths and overlapping figures--all things that give it a more 3 dimensional appearance. Though more complex and detailed than the above flowers, this is still essentially a outline drawing. Let's move on to more relevant examples with a still life by Henry Matisse:


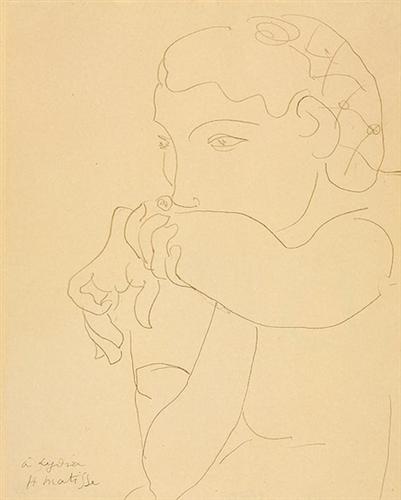
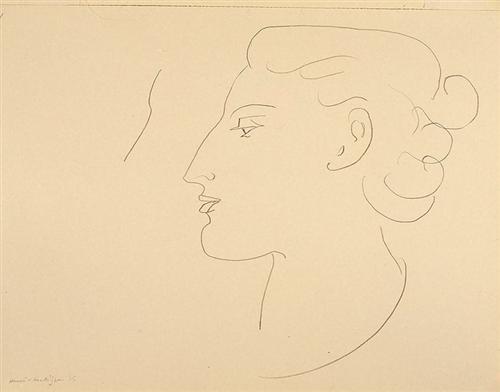
A few other more simple Matisse outline drawings:


Notice the similarities between all four pieces: the lack of shading and fine details. All the subjects have been simplified to their most basic outline.

An outline shouldn't be perfect and you shouldn't feel the need to erase your 'mistakes'. Just draw what you see in front of you. It's all about training your hand eye coordination.


Contour and Blind Contour

Contour Drawing is about learning to see. It’s a slow inspection of the subject, a careful examination of it’s parts, in a continuous line drawing. Try not to lift your pen/pencil off of the paper and look at your subject as much as you can.  This helps you train your hand eye coordination and also helps to translate things from a 3D space to a 2D space. 


Blind contour is similar to regular contour drawings, except instead of occasional glances at your paper, the goal is  to not look at your drawing at all. Only focus on the subject. For many beginners their blind contours will more resemble scribbles, but with time and practice, you will find your drawings having a bit more form. 

Here are some examples of contour drawings and blind contour drawings of the same subject to show the difference: